

myAuntMinnie Help & Support
Have a Suggestion?
Have a suggestion for something you would like to see on the site? We value your feedback. Please let us know how we can improve your experience on AuntMinnie.com.
CLICK HERE to send us feedback!
Creating an Account
You can browse myAuntMinnie.com without logging in, but to participate in Forums or take Cases, you need to create an account. If you had an account on our legacy site, then your email address and password have been transferred to the new site. If you have any issues logging in with your legacy credentials, please reset your password by doing the following:
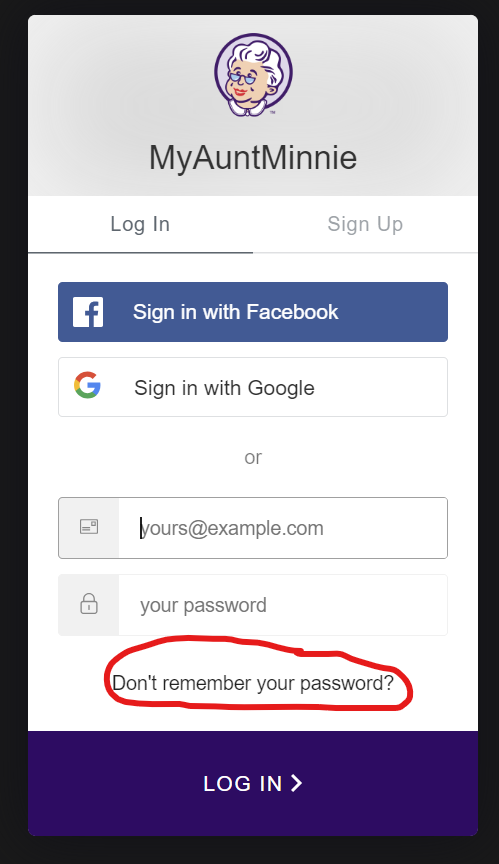
- Click “Sign In” in the upper right corner of the page.
- When the Sign In window appears, click on “Don’t remember your password” and the site will send you an email with instructions on how to reset your password.
If you did not have an account on the legacy site, or you cannot remember what email address you used, you can always create a new account. You do this as follows:
- Click “Sign In” in the upper right corner of the page.
- When the Sign In window appears, click on “Sign Up”:
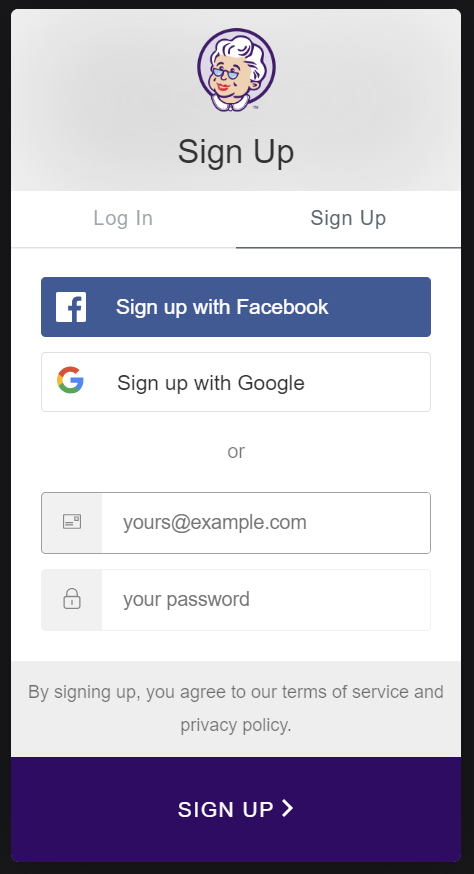
- Supply a password and click on “Sign Up”.
- Check your email inbox for an email from AuntMinnie with a link to sign in using your new account.
- Alternatively, you can login using a social media account (Facebook, Google) but do not use one which has the same email address as your email/password if you have already created an account.